
The Ultimate DIY Milky Pink Nails Guide: How to Get the Salon Look at Home
This post may contain affiliate links, which means I may earn a small commission if you make a purchase through these links — at no extra cost to you. Thank you for supporting the content I create here on the blog! You can read my full Disclosure Policy for more details.
Look at your hands right now. Be honest. Are they exuding “aesthetic minimalist who drinks iced matcha in Soho,” or are they screaming “I picked off my gel polish while hyper-focusing on a midnight rabbit hole”?
If it’s the latter, welcome. You are among friends, and we are fixing this right now.
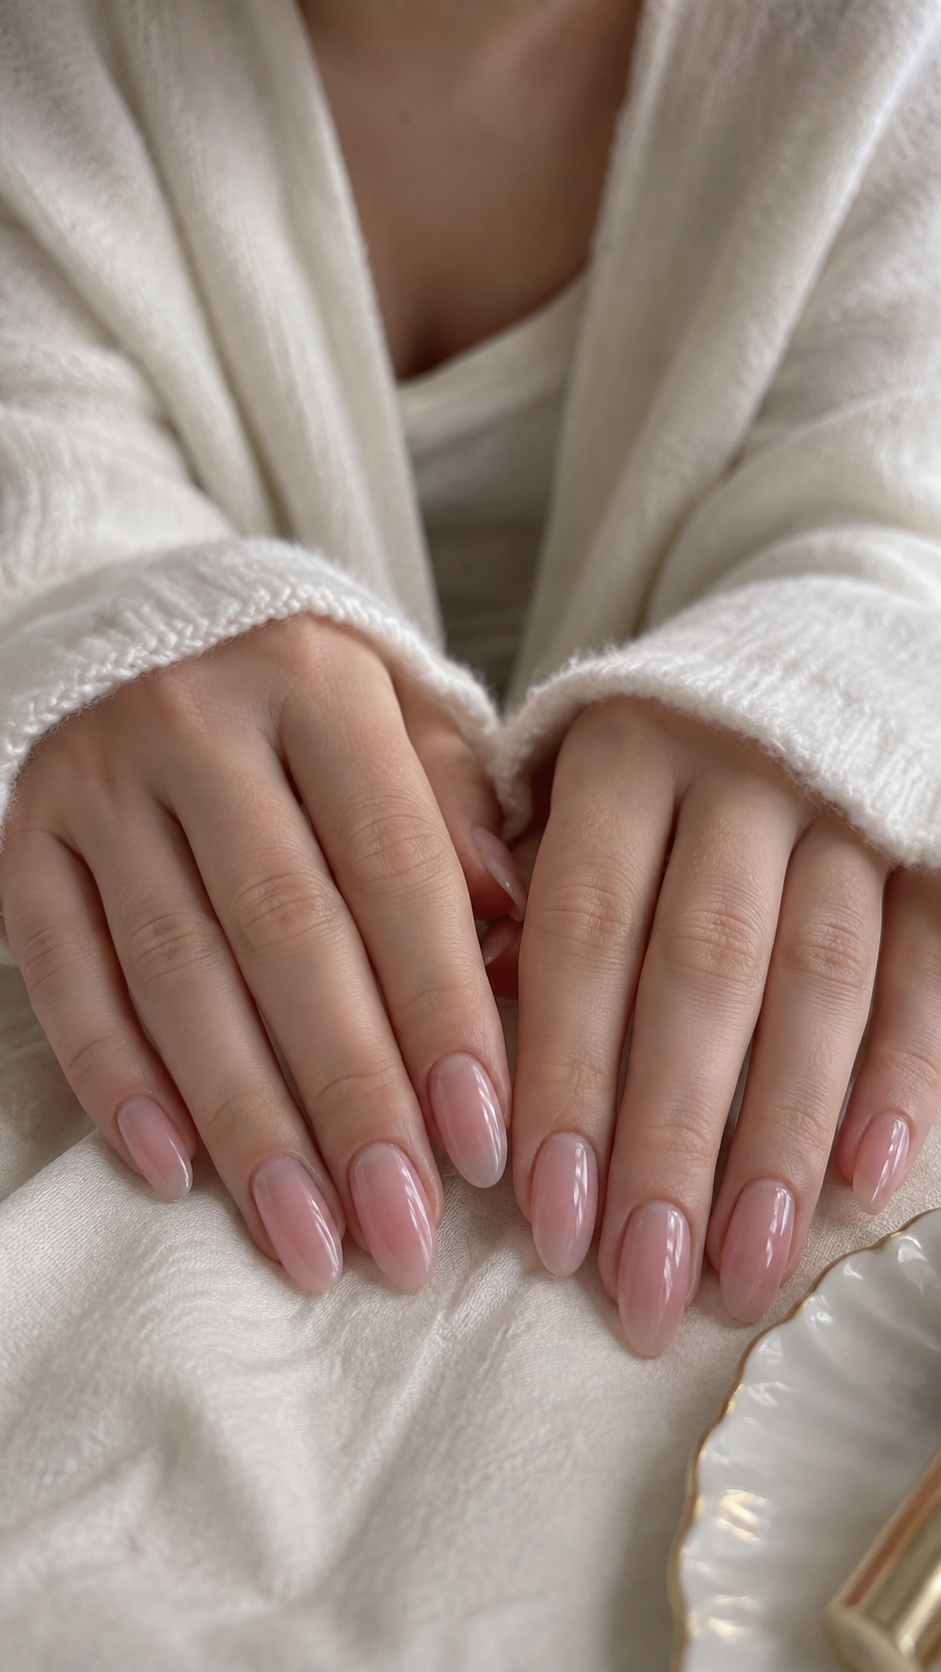
The milky pink manicure—variously branded across TikTok as strawberry milk nails, glazed coconut blush, or I effortlessly have my life together—is the undisputed supreme ruler of low-maintenance, high-impact nails. It blurs natural imperfections, hides nail growth like a magic trick, elongates your fingers, and goes with every outfit from an oversized blazer to grey sweatpants.
The problem? Salons charge $80+ before tip for what is essentially semi-translucent pink polish. That is a financial crime.
Below is the definitive, bulletproof guide to achieving that squishy, cloud-like, milky pink look on your own couch—using regular polish, basic tools, and zero professional license.
TL;DR: To get squishy, salon-quality milky pink nails at home without a UV lamp or a $80 price tag, rely on the “sandwich method.” After filing, buffing, and wiping your nails with alcohol or acetone to strip away oils, apply a ridge-filling base coat. Paint one thin layer of sheer white polish (like Essie Marshmallow) to build a cloudy undertone, layer two thin coats of sheer pink over it (like OPI Baby, Take a Vow), and seal everything with a thick, plumping gel-effect top coat—making sure to cap the free edges to lock in that high-shine, dimensional depth.
What Are Milky Pink Nails? (And Why Are We Obsessed?)
Unlike classic full-coverage pale pinks (which tend to look like correction fluid or 1950s Pepto-Bismol if you aren’t careful), milky pink nails rely on translucent layering.
It’s a finish that looks dimensional, hydrated, and almost gel-like. Because the base is semi-sheer, your natural nail bed peeks through just enough to make it look hyper-natural, while the milky undertone masks yellowing, ridges, and uneven texture.
Milky Nails vs. Soap Nails: What’s the Actual Difference?
With beauty TikTok inventing a new aesthetic name every three business days, it is remarkably easy to confuse milky nails with their close cousin, soap nails. While both fall under the clean-girl umbrella, they are not the same thing.
Here is how to tell them apart so you don’t end up with the wrong vibe:
- Milky Nails (Cloudy & Semi-Opaque): Think oat milk, strawberry cream, or a misty filter. Milky nails build a hazy, semi-sheer layer of soft white or pink over your nail plate. They mask yellowing, hide ridges, and blur natural imperfections under a squishy layer of cloudy depth.
- Soap Nails (Hyper-Sheer & Wet-Look): Think “just stepped out of a luxury bath.” Soap nails don’t hide your natural nail at all. They use an ultra-sheer, glass-like tint (or just a clear coat over impeccably buffed nails) to give a hyper-glossy, squeaky-clean, “no-makeup makeup” shine. It’s 90% immaculate cuticle prep and 10% polish.
Want to lean into the squeaky-clean aesthetic instead? If you prefer a crystal-clear, wet-look finish over a cloudy one, check out my ultimate step-by-step guide to Soap Nails here.
The Holy Grail DIY Tool Kit
Clear off a flat surface. Do not do this on a soft duvet. Do not do this on your lap while sitting cross-legged. Gather these exact supplies before opening a single bottle:
- Nail File & Glass Buffer: A 180/240 grit file or a glass nail file. Leave the metal file from your mom’s 1994 sewing kit in the drawer.
- Cuticle Stick: Wooden orange stick or stainless steel cuticle pusher.
- 100% Acetone or Rubbing Alcohol: For deep-cleaning oil off the nail plate.
- Ridge-Filling Base Coat: Essential for smoothing out natural bumps so sheer polish doesn’t streak.
- The Polishes (Your Sheer Dream Team): See comparison table below.
- Plumping Top Coat: Quick-dry, gel-effect top coat (e.g., OPI Gel Plump Effect).
- A Cleanup Brush: A tiny angled eyeliner brush dipped in pure acetone to fix your chaotic over-painting.
The Milky Pink Polish Cheat Sheet
Not all pinks are created equal. To avoid the dreaded “chalky streak” look, use one of these tried-and-tested polish combinations:
| Strategy | Primary Shade (Coat 1) | Secondary Shade (Coats 2 & 3) | Visual Result |
| The Sandwich (Best Overall) | Essie Marshmallow (Sheer White) | OPI Baby, Take a Vow (Sheer Pink) | Cloudy, soft-focus strawberry milk |
| The Cult Classic | OPI Bubble Bath (1 thin coat) | OPI Bubble Bath (2nd coat) | Warm, elegant nude-pink glow |
| The Cool-Girl Glaze | Essie Hi Maintenance | Dior Nail Glow (1 top layer) | Juicy, healthy, hyper-hydrated sheen |
| The DIY Franken-Mix | 3 drops opaque white | 5 drops sheer pink + clear base | Customized exact opacity |
The Lazy-Girl Cheat Code: Nail Concealer (The One-Bottle Miracle)
If playing mixologist with sheer whites and baby pinks sounds like entirely too much administrative labor for a Tuesday night, let me introduce you to the ultimate loophole: Nail Concealer.
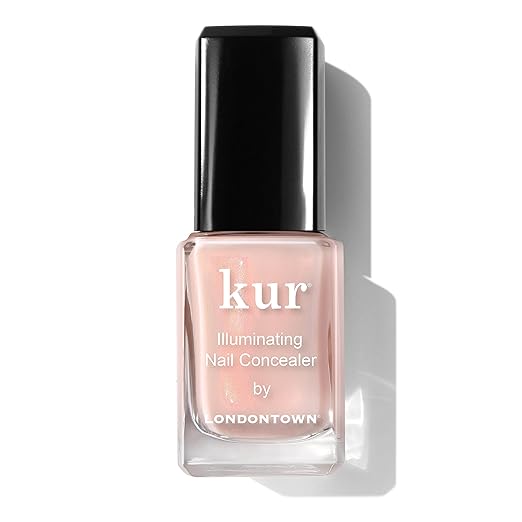
Pioneered by cult-favorite brands like Londontown Kur (their Illuminating Nail Concealer in Milky or Pink is the unquestioned holy grail), nail concealers are specifically engineered for anyone who wants the milky pink aesthetic with absolute zero effort.
Why It Works Like Sorcery
Instead of forcing you to build physical layers of white and pink polish to hide your natural nail bed, nail concealers use optical brighteners and micro-pearl pigments. Think of it as tinted moisturizer or filter-in-a-bottle for your hands. It neutralizes yellowing, blurs microscopic ridges, and reflects light so your nails look naturally flawless, hydrated, and milky in a single step.
How to Use It (In 3 Minutes Flat):
- Dehydrate: Wipe your bare nails with rubbing alcohol or acetone to remove surface oils.
- Apply Concealer: Paint 1 to 2 thin coats. Because most concealers double as strengthening treatments (often packed with AHA acids and botanical oils), you can usually skip the base coat entirely.
- Seal: Add your plumping top coat for that signature squishy gel look.
The Catch? A dedicated nail concealer will set you back around $18 to $22 a bottle. But considering it cuts your manicure time in half, dries in record time, and is virtually impossible to streak—even if you’re painting with your non-dominant hand while blindfolded—it is worth every single penny for the low-maintenance crew.
Step-by-Step: How to DIY Milky Pink Nails at Home
Step 1: Shape and Prep Like a Master Craftsman
A sheer manicure highlights sloppy prep faster than an interrogation light.
- File the Shape: Oval, almond, or short squoval work best for the milky aesthetic. File in one direction only. Sawing back and forth causes micro-fractures in your natural nail edges that lead to immediate peeling.
- Gently Nudge the Cuticles: Push back the dead skin on the nail plate. Do not go on a bloodthirsty spree with cuticle nippers; just clear the canvas so the polish doesn’t pool on your skin.
- Buff Off the Shine: Lightly buff the surface of each nail with a buffer block. You aren’t thinning the nail—you are creating microscopic texture for the polish to grip onto.
Step 2: The Critical Dehydration Step
Wipe every nail down with a lint-free pad soaked in rubbing alcohol or pure acetone. This removes natural skin oils and moisture.
RULE: Once your nails are dehydrated, do not touch your hair, face, phone, or dog. Skin oils will instantly compromise polish adhesion and cause chipping by day two.
Step 3: Base Coat First
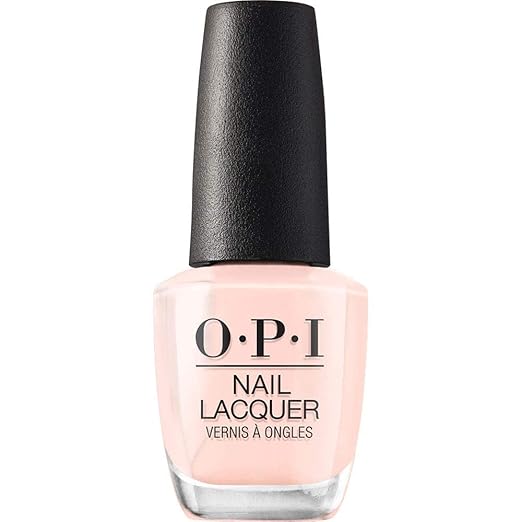
Apply one thin layer of ridge-filling base coat. Swipe the brush horizontally across the very tip of your nail bed (this is called capping the free edge). Let dry for 2 full minutes.
Step 4: The “Squishy” Layering Technique
Method A: The Sandwich Hack (Recommended)
- Layer 1: Apply one thin coat of sheer white. It will look slightly streaky and chaotic. Do not panic. Do not throw the bottle. Trust the process.
- Layer 2: Apply one coat of sheer pink directly over the dried white coat. The pink instantly softens the stark white, creating a deep, milky undertone.
- Layer 3: Apply a second thin coat of sheer pink to blend everything into a cloud-like finish.
Method B: The Franken-Polish Trick
If you don’t want to buy three separate bottles:
- Grab an almost-empty bottle of clear base coat or top coat.
- Drop in 3 drops of opaque white polish and 5 drops of sheer pink polish.
- Roll the bottle between your palms (don’t shake violently, or you’ll introduce air bubbles) until blended.
- Paint 2–3 thin coats of your custom brew.
Step 5: Thin Coats or Instant Destruction
The golden rule of at-home manicures: Two thin coats will dry in minutes; one thick glob will remain liquid underneath until you ruin it on your seatbelt.
Wipe off almost all polish from one side of the brush. Place the brush a millimeter away from the cuticle, push back slightly, then sweep down the center. Do two quick side strokes. Three passes total per nail. Walk away and let it dry.
Step 6: Clean Up the Excess
Before applying top coat, dip your angled makeup brush into pure acetone. Trace along your cuticle line and side walls to wipe away any stray polish that bled onto your skin. Crisp, clean borders are what fool people into thinking you paid $90 at a studio.
Step 7: The Plumping Top Coat (The Illusion Maker)
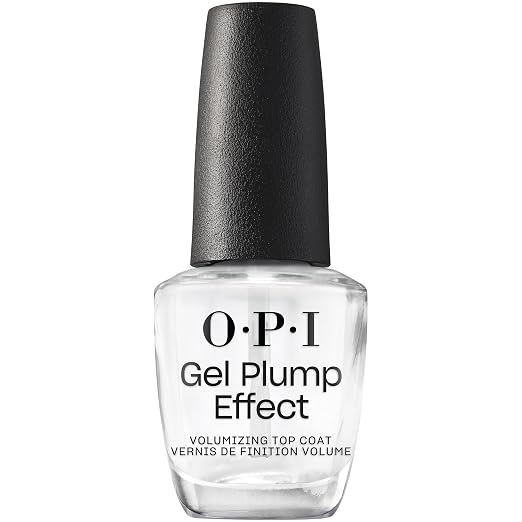
This is where the magic locks in. To get that thick, gel-like depth without a UV lamp, you need a high-volume, plumping top coat.
Float a generous bead of top coat over the nail—don’t drag the brush bristles hard against the color layer. Cap the free edges one last time to seal against water ingress.
3 Deadly Mistakes Killing Your At-Home Manicure
- Flooding the Cuticles: If polish touches your skin or cuticles, air will get underneath as the nail grows, lifting the entire sheet of polish within 48 hours.
- Skipping the Free Edge: Failing to cap the tips with base, color, and top coat leaves the most vulnerable part of your nail exposed to dishwater and typing impact.
- Using Hot Water Too Soon: Polish takes up to 2–6 hours to fully cure to the core. Taking a boiling hot shower 30 minutes after painting will expand your nail beds and cause instant bubbling or smudging.
FAQs
How do I get milky pink nails without gel or a UV light?
You can achieve the exact same look with regular nail polish by using the “sandwich technique”: layer one thin coat of sheer white polish beneath two thin coats of sheer jelly pink, then seal with a thick, gel-effect plumping top coat like OPI Gel Plump Effect
Why does my milky pink polish look streaky?
Streaking happens when polish is applied over un-buffered ridges, or when coats are painted on too thick. Use a ridge-filling base coat first, keep your polish layers paper-thin, and let each layer dry completely before adding the next.
What is the best polish for strawberry milk nails?
The most iconic combination is OPI Baby, Take a Vow or OPI Bubble Bath layered over Essie Marshmallow. For a single-bottle solution, Essie Hi Maintenance offers great pre-blended sheer coverage.
The Verdict
You are now in possession of the forbidden knowledge. With about $15 worth of drugstore polish and 20 minutes of patience, you have a dreamy, cloud-like, salon-grade milky pink manicure. Go forth, oil your cuticles daily, and pretend you have your life completely together.