
How to Get a “Soap Nails” Manicure Without Gel
This post may contain affiliate links, which means I may earn a small commission if you make a purchase through these links — at no extra cost to you. Thank you for supporting the content I create here on the blog! You can read my full Disclosure Policy for more details.
The internet has gaslit us all into believing that if you want your fingernails to look like you washed them with a $120 bar of artisanal goat-milk soap from Provence, you have to spend two hours at a salon, breathe in toxic chemical vapors, and fry your hands under a tiny purple radiation bulb.
It’s a scam!
The UV-gel industrial complex wants you trapped in an endless loop of scraping off your natural keratin layers with a metal tool like you’re peeling dried mud off a boot, all for an aesthetic that literally means “my hands are clean.”
You do not need gel for this. You do not need LED lightbulbs. You do not need to turn your natural nail beds into tissue paper.
This is the definitive masterclass on how to trick the entire world into thinking you have hyper-plump, high-shine, liquid-glass Soap Nails at home using regular air-drying polish while sitting on your couch in sweatpants.
TL;DR: Stop frying your natural nail beds into tissue paper under a UV bulb—you can fake the ultra-juicy, high-shine “Soap Nail” look on your couch in sweatpants. The entire trick is ruthlessly stripping nail oils with acetone, laying down a ridge-filling base coat as a Photoshop blur filter, and applying two paper-thin coats of a sheer “skim milk” tint. To steal that 3D gel plumpness, float a massive bead of quick-dry topcoat over the color without letting the bristles touch, then drown your fingers in jojoba oil until low-orbit satellites can track your shine.
What in the Name of French Lavender Is a “Soap Nails” Manicure?
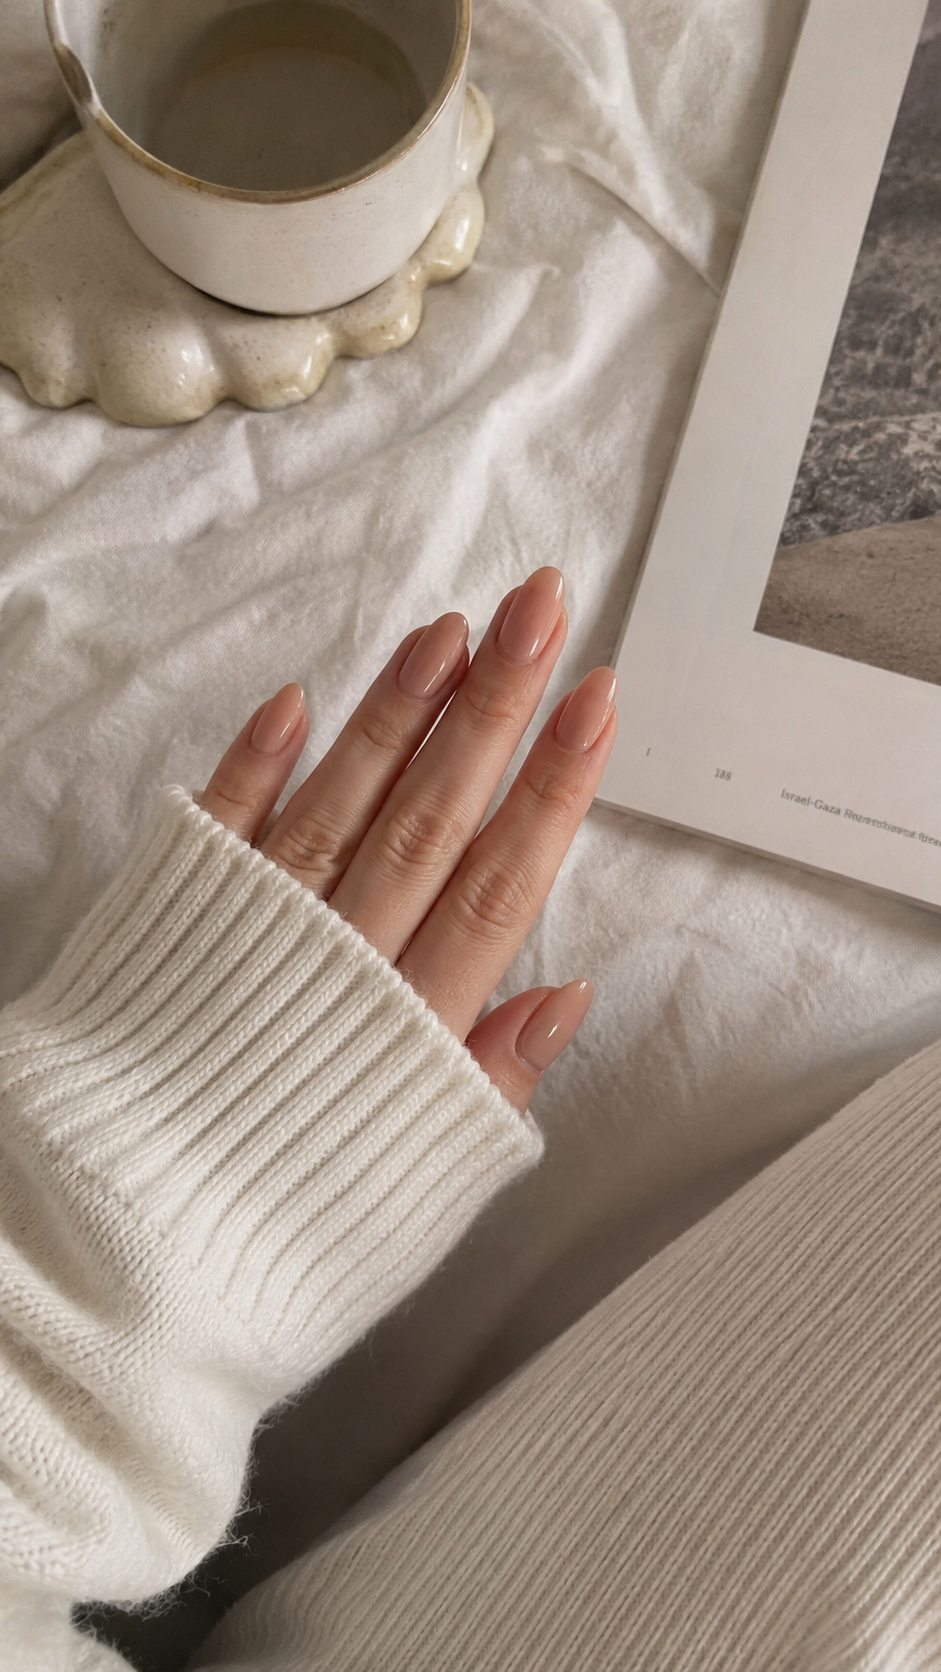
Before we start slapping paint around, we need to talk about the optics. A Soap Nail is not a thick cream polish. It is not matte. It is not glittery. It is the visual equivalent of a freshly scrubbed marble countertop, a crisp white linen shirt, or a glass of water with a single, dramatic drop of skim milk dissolved in it.
The trick is translucency.
You are creating an optical illusion where your natural nail plate, your white tips, and your half-moons (lunulas, if we’re being fancy) are softly visible beneath a thick, juicy, hyper-hydrated dome of shine. It looks wet. It looks squeaky. It looks like you have never done a single day of manual labor in your life.
The Architecture (Opaque Manicure vs. Liquid-Glass Soap Dome)
| Manicure Layer | Boring Opaque Paint-Job | The Liquid-Glass Soap Dome |
| Top Layer | Standard thin clear coat | Plumping 3D Glass-Effect Topcoat |
| Color Layer | Thick, chalky opaque pigment | Sheer Milky-Pink Tint (50% Translucent) |
| Base Layer | Basic clear base coat | Ridge-Filling Photoshop Blur Filter |
| Natural Nail | Completely hidden & suffocated | Softly peeking through (Lunula & Tips visible) |
The Arsenal: Gathering Your Supplies
Do not try to substitute these items with random junk from the bottom of your bathroom drawer from 2016. If you want a fake-gel look, you need modern chemical wizardry.
- A Glass Nail File: Throw those cheap grit emery boards in the trash. Glass files seal the edge of your nail so it doesn’t split like a frayed pair of jeans.
- Liquid Cuticle Remover: We are chemically dissolving dead tissue today, not hacking at our fingers with sharp tools like medieval peasants.
- Pure Acetone or 99% Isopropyl Alcohol: To strip every atom of grease off your hands.
- A Ridge-Filling Base Coat: Your Photoshop blur tool in a bottle.
- A Sheer “Milky” Polish: Pink, peach, or soft white. If it looks totally opaque in the bottle, put it down!
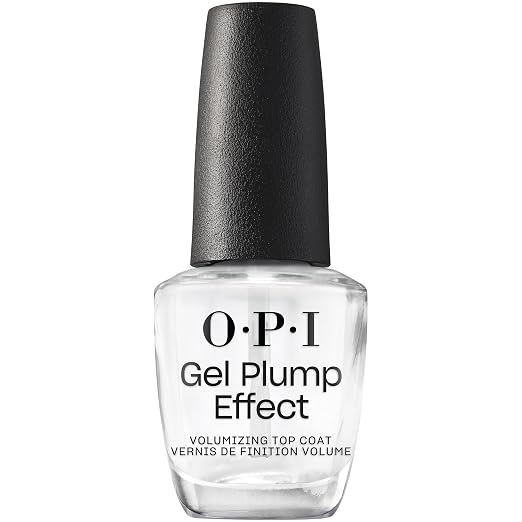
- A Plumping, Gel-Like Topcoat: Must be quick-dry and thick. Look for formulas like OPI Gel Plump Effect.
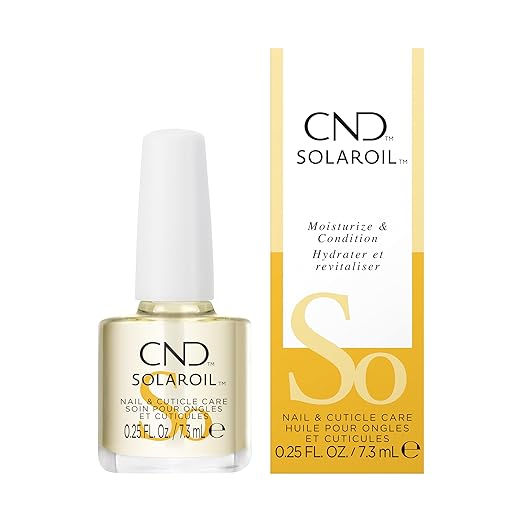
- Jojoba-Based Cuticle Oil: The secret sauce. Your skin needs to shine so brightly that satellites can track your movements.
Phase 1: The Exorcism of Your Cuticles
If your cuticles look like torn raggedy edge pieces of a jigsaw puzzle, no amount of $50 polish is going to save you. Prep is 80% of this fight.
Step 1: Shape the Canvas
File your nails into a soft, organic silhouette. A “squoval” (a soft square with rounded corners) or a short, clean oval works best. Sawing back and forth causes micro-fractures, so file in one direction. We are building a high-end aesthetic here, not grinding down meat.
Step 2: Melt the Dead Skin
Slather liquid cuticle remover around the frame of every nail. Let it sit for 60 seconds while you reflect on your past mistakes. Take a glass or wooden cuticle pusher and gently trace the perimeter, sliding back the cuticle fold and scraping away that invisible, crusty dead tissue (the pterygium) clinging to the base.
Now—and this is crucial—go wash your hands with soap immediately. Cuticle remover is alkaline. If you leave it on your skin, it will keep eating your tissue and ruin your polish adhesion.
Step 3: Dehydrate the Sahara
Natural skin oils are the #1 reason your polish peels off in one giant, satisfying sheet three hours later while you’re trying to open a bag of chips. Saturate a cotton pad with pure acetone or rubbing alcohol and scrub every single nail plate until it squeaks. Your nails should look bone-dry, matte, and utterly lifeless. Do not touch your face, your hair, or your phone after this.
Phase 2: Laying Down the Blur Filter
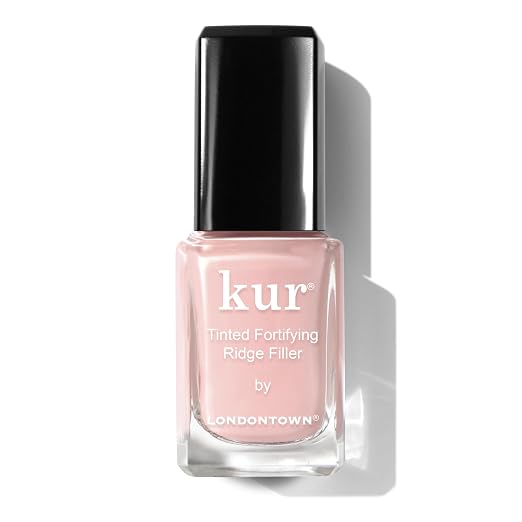
Because sheer colors show every single dent, scratch, and yellow stain underneath, a basic clear base coat is a trap. You need a Ridge-Filling Base Coat (like Londontown Kur Ridge Filler).
These formulas contain tiny micro-minerals that settle into the valleys of your nail bed, neutralizing yellow tones and filling in vertical ridges.
- Swipe one generous layer over your bone-dry nails.
- Let it air-dry for three full minutes.
- Watch in awe as your nails instantly look like they have a real-life Instagram blur filter applied to them.
Phase 3: The “Skim Milk” Layering Protocol
You aren’t picking a paint color; you’re picking a tint.
| Undertone | Skin & Vein Identifiers | Recommended Sheer Finish | Product Examples |
| Cool Undertones | Pink skin, blue veins | Sheer Lavender-Pink / Soft White | LONDONTOWN kur Illuminating Nail Concealer |
| Warm Undertones | Olive skin, green veins | Sheer Peach / Warm Nude Milk | OPI Bubble Bath |
The Two-Coat Rule
- Coat One (Paper-Thin): Wipe 90% of the polish off the brush handle. Swipe down the middle, then down each side. It will look like you applied plain water. Do not panic. Trust the process. Let it dry for two minutes.
- Coat Two (The Volume Builder): Apply a slightly richer second coat. Suddenly, your nail bed looks like a flawless porcelain doll, but you can still softly see the white tip of your natural nail underneath. STOP HERE. Do not add a third coat or you will lose the translucency and just end up with flat pink paint.
Phase 4: Faking the Gel Plumpness (The Float Trick)
This is the climax of the entire operation. To fake the thick, 3D juicy dome of a UV-cured gel without an ultraviolet lamp, you cannot apply topcoat like a normal person. You have to float it.
- Do Not Shake the Bottle: Shaking topcoat creates millions of micro-bubbles that will make your nails look like they have a skin rash. Roll the bottle horizontally between your palms like you’re trying to start a campfire with a stick.
- Grab a Bead: Pull the brush out of the topcoat bottle with a big, glossy bead of liquid hanging off the tip.
- Float, Don’t Scrape: Place that bead near the base of your nail and gently push it toward the cuticle, then guide it down to the tip. The brush bristles should never actually touch your pink polish. You are letting the thick liquid pool and self-level over the nail.
- Cap the Free Edge: Turn your finger sideways and swipe the brush horizontally across the very front edge of your nail tip. This seals all the layers together so water can’t sneak in and lift your polish.
Let this set undisturbed for 15 minutes. Put on a podcast. Do not try to fold laundry.
Phase 5: The Cuticle Oil Drowning
Once your topcoat is firm to the touch, it’s time for the final ritual. Take a jojoba-based cuticle oil and drown your fingers.
Drown them!
Your cuticles should be shining so brightly that low-orbit satellites can track your hand movements. Rub that oil into your cuticles, your sidewalls, and your knuckles. The contrast between deeply lubricated, shiny skin and that plump, glassy nail dome is what triggers the brain into thinking, “Wow, that person’s hands cost more than my rent.”
Troubleshooting
| The Catastrophe | Why It Happened | The Emergency Fix |
| Tiny bubbles everywhere | You painted under a ceiling fan, or you shook the topcoat bottle like a cocktail shaker. | Roll bottles gently next time; paint in still air. Cover the bubbles with a fresh layer of topcoat on Day 2. |
| It streaked! | You pressed the brush too hard or applied thick, gooey coats. | Use a ridge filler underneath, and keep color coats paper-thin! |
| It chipped after 24 hours | You skipped the acetone wipe, or you forgot to “cap the edge” with topcoat. | Cleanse with alcohol religiously before base coat next time. |
| It looks dull by Tuesday | Hand sanitizer and dish soap ate your shine. | Re-apply a fresh coat of plumping topcoat every 3 days and oil your cuticles daily. |
Boom. Done. You have officially unlocked peak minimalist, high-gloss “Soap Nails” without frying your skin under UV rays, without ruining your natural nails, and without giving a salon $80 for three drops of sheer pink paint. Go slap your hands onto a table and admire your own genius.
FAQs
How long do they actually last without gel?
5 to 7 days easily. Re-apply a coat of plumping topcoat on Day 3 and oil your cuticles daily to push it to a full week.
How is this different from “Glazed Donut” or “Milk Bath” nails?
Glazed Donut uses metallic chrome dust, Milk Bath uses chalky opaque white, and Soap Nails are 100% sheer, squeaky-clean, and gloss-obsessed.
Why does my sheer polish always look streaky?
You skipped a ridge-filling base coat. Sheer polish highlights every dip in your nail bed; a ridge filler levels the terrain so paper-thin color coats glide on smoothly.
How do I fake the thick “gel dome” look with regular topcoat?
Float a generous bead of quick-dry topcoat over the nail plate. Do not press the brush bristles into your color coat—let the liquid pool and self-level into a 3D glass lens.
Can I do this on short or damaged nails?
Yes. Short, natural nails are the premier canvas for this look, and skipping UV gel gives damaged keratin layers time to heal without harsh acetone soaks.
Why must I wash off liquid cuticle remover before painting?
It uses alkaline chemicals to chemically dissolve dead skin. If left on, it eats away at your skin fold and disintegrates your base coat, causing polish to peel off in one giant sheet.
What if my natural nail beds are yellowed?
Grab a violet-tinted sheer polish. Violet optically cancels out yellow on the color spectrum, making stained tips look crisp, bright, and squeaky clean.